Wouldn’t it be nice to get the reports in a preconfigured time interval, for example every day or every week?
The reports module is integrated since version 3 of LogAnalyzer. It supports HTML and PDF output and can be fully parameterized. For example, Adiscon LogAnalyzer can be used to analyze user account logons over a specific time frame, system and network errors can be identified or a status report of the whole network be generated. And at it bests: once configured, reports can be sent automatically by email in a daily, weekly or custom interval.
Unfortunately creating automated reports is currently not supported, yet. But you can build this very easy using Scheduled Tasks in Windows. Here you can find some help for implementing. If you have installes LogAnalyzer yet you can jump directly to 2. Creating a report in LogAnalyzer. But please note that you need a installed “Enabled User Database”. That is required to activate the Admin Panel, which includes all the configuration options as well as the report module.
This article was written by using LogAnalyzer 3.2.0, MonitorWare Agent, xampp 1.7.4 and Windows XP.
1. Download and Install LogAnalyzer
2. Creating a report in LogAnalyzer
3. Creating a scheduled Task
1. Download and Install LogAnalyzer
So if you haven’t done so already, go to http://loganalyzer.adiscon.com/downloads and download the latest LogAnalyzer version. It is always recommended to use the latest Version of LogAnalyzer. Once the download is done, go ahead and install it.
To install LogAnalyzer we need:
- Apache or IIS Webserver
- PHP5
- MySQL Database
For obvious reasons, you also need some syslog data. Any standard syslogd will do. From a feature and stability point of view, we recommend either one of these (which we also wrote 😉 ):
- WinSyslog,EventReporter or MonitorWare Agent (for the Windows platform)
- rsyslog (for the Linux/Unix platform)
In our case we used MonitorWare Agent.
Step 1
Load the most recent build from http://loganalyzer.adiscon.comdownloads. Extract the downloaded file with WinRAR or something similar.
Step 2
Upload all files from the loganalyzer/src/ folder to you webserver. The other files are not needed on the webserver.
In our case the folder is c:\xampp\htdocs.
Step 3
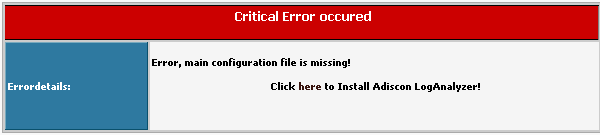
Now open your LogAnalyzer installation in your favourite webbrowser, you will see an error, and you will be pointed to the installation script. The install script will guide you through the LogAnalyzer installation, just follow the instructions.
Step 4
Prerequisites Beginning of installation / welcome site. This is the first page of the installation. It just tells you, that before installing, some file permission have to be checked. Simply click “Next” to start the process.


Step 5 – Basic Configuration
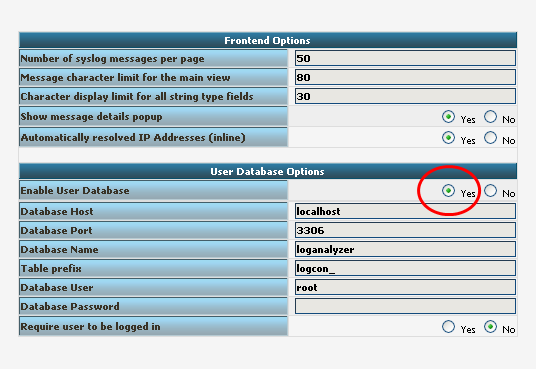
While the installation we have to do some changes. But here we just have to enable the user database. All other default configuration can be left.
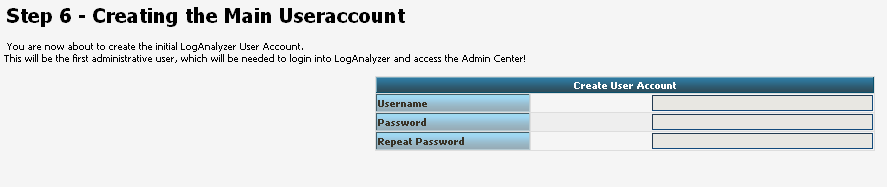
After that we have to create a user. In this guide we chosse “admin” as in the screenshot below.
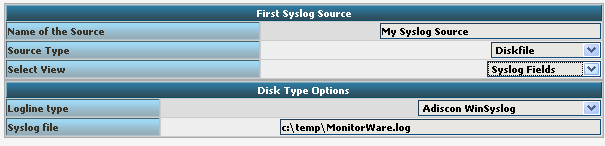
Step 6 – Create the first source for syslog messages
In our example we use a text file as source that is created by MonitorWare Agent. MonitorWare Agent uses the “Adiscon WinSyslog” Logline type, so we have to adjust that option in “Disk Type Options”. Furthermore we have to adjust the path to our source in “Syslog file” to :\temp\MonitorWare.log. Please make sure that you disabled “Create Unique Filenames” in your MonitorWare Agent configuration client.
After those steps we can finish the installation of LogAnalyzer and go to the web interface. The webinterface appears short after finishing the installation.
2. Creating a report in LogAnalyzer
To use the reports-module, you need to have some requirements to fulfill. You need a working installation of LogAnalyzer, a user with admin privileges in LogAnalyzer and a data source, preferably already filled with log data. When you have all this done, you can start creating your reports.

First of all use the Login Button to log in to your account. You can directly go to the admin center. As you can see, you get a new menu with a lot of submenus for customizing your configuration. But this is all not so interesting right now. All except the Report Modules. Click on the “Report Modules” button to get to the configuration menu. There you will find a overview of the installed reports.

By clicking on “Add Savedreport” at the report you want to configure, you get to a configuration window.
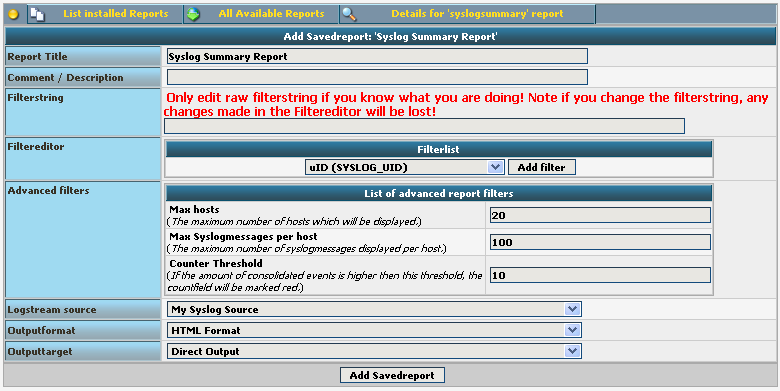
Here you can set various details like the name and description of the report, configure a filter for the report or set the Data Source you want to use and the output format. Simply save this report by clicking on “Add Savedreport”. You will be automatically redirected to the report overview and your new report is ready to use.

Now you can directly test the report by clicking the green arrow on the right. The report will be generated and (depending on your settings) stored or opened.
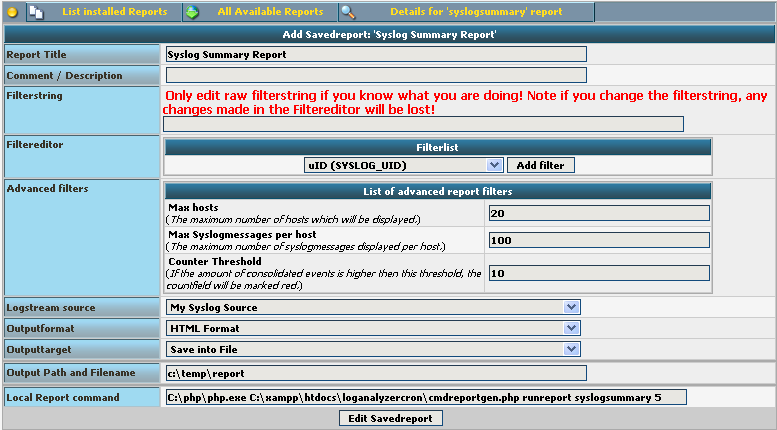
If you want to schedule the report to be automatically generated, click on the name of your configured report. You get to the configuration window again. At the bottom of the form, you see a line with a console command. This is automatically generated when saving the report the first time. With this command line you can create a cron job or a scheduled task, which allows you to automatically generate the report at specific time intervals as you need it.
Please note, unfortunately we found a little bug in LogAnalyzer. The created command line is missing a “\” between loganalyzer and cron. Please find below the corrected command line of the screenshot:
C:\php\php.exe C:\xampp\htdocs\loganalyzer\cron\cmdreportgen.php runreport syslogsummary 5
3. Creating a Scheduled Task
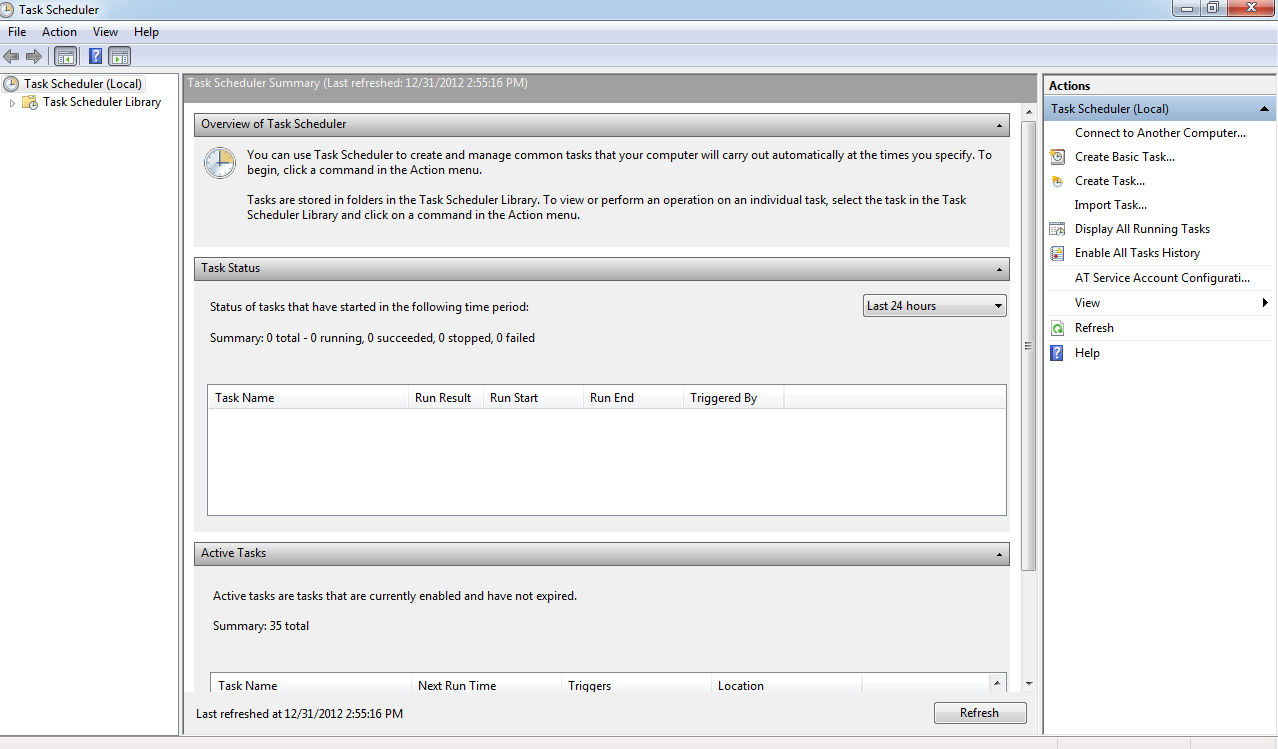
All we need now is a Scheduled Task that runs that command line. So got to Windows Control Paneland open “Administrative Tools” and select “Scheduled Tasks”. There we have to add a new task. By clicking on “Create Basic Task” on the right side, a wizard will open that lead us threw the configuration.
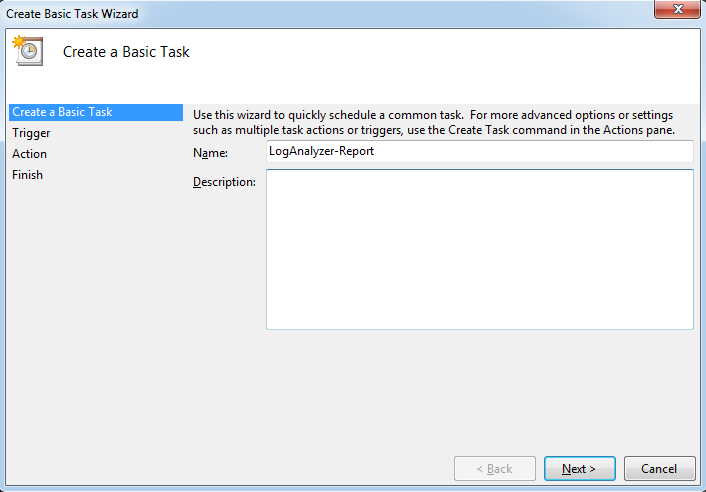
First you have to title your task as you prefer. I entered “LogAnalyzer-Report”.
The next step would be to select the time interval (we selected “Daily”).
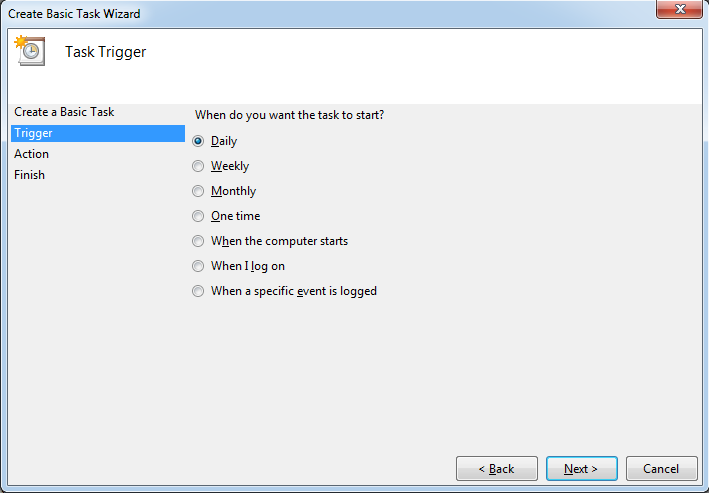
The next step would be to select the time interval, choose it as you like and click “Next”. In the next step you have to choose “Start a program” and then press next.
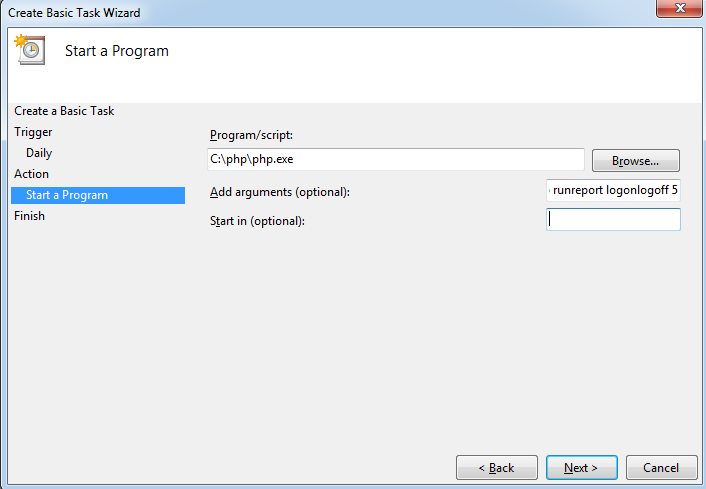
The next step would be to tell our Task which command shoud be ran. Here we insert the command line from our saved report, we created in LogAnalyzer, in “Program/script:” and “Add arguments” as in the screenshot. In the case of this sample the command line is: C:\php\php.exe C:\wamp\www\cron\cmdreportgen.php runreport logonlogoff 5
Here you can also adjust the scheduling and some further settings.
In the next window we mark “Open advanced properties…” and finish the wizard.
After adjusting everything confirm your settings. Now we have nothing to do apart from waiting till the task will run the first time. If everything works fine you will find your report at c:\temp\report.html. Please find below a sample of such a report.
Please note that LogAnalyzer will overwrite this file if it is not renamed. In one of the next releases there will be a feature that makes it possible that LogAnalyzer is able to create unique filenames.
